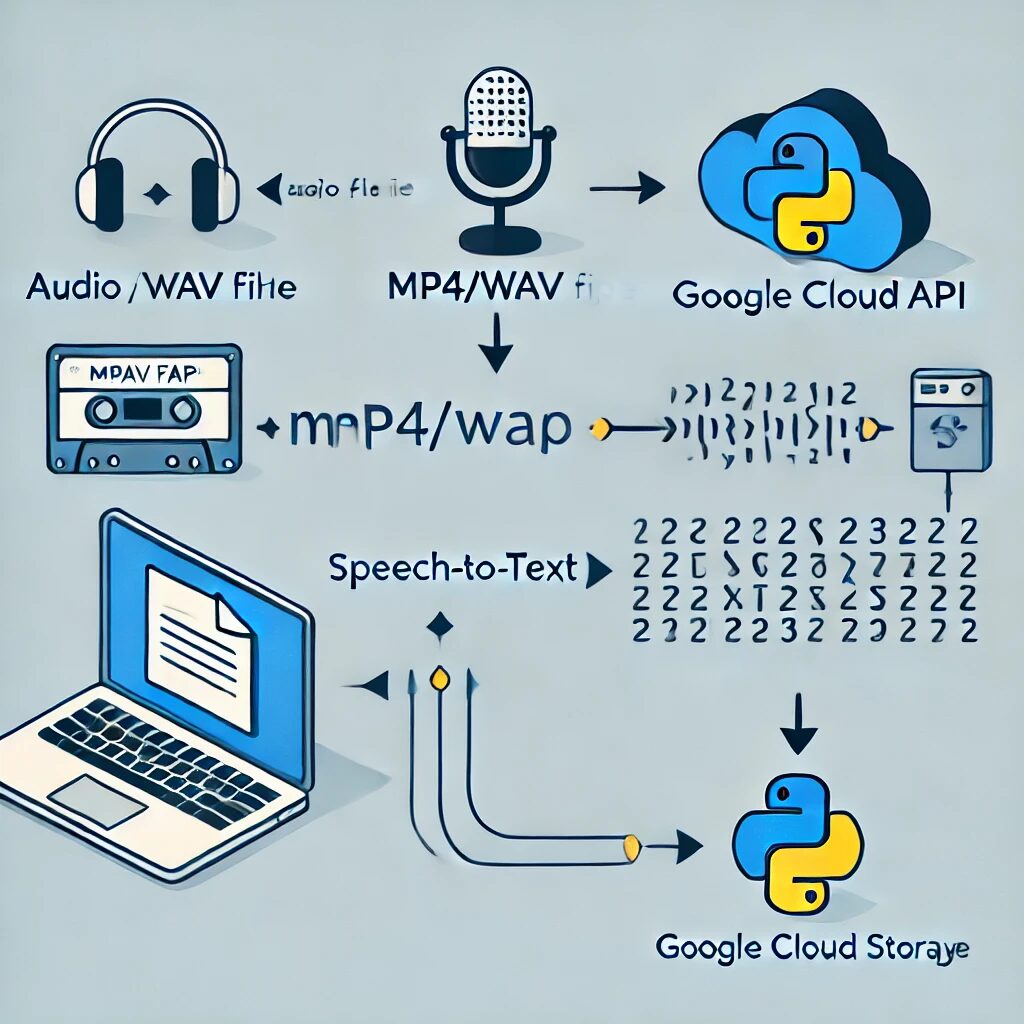
Google Cloud Speech-to-Text APIを用いた文字起こしを試してみました。
思いのほか大変だった、、、 trial and errorを繰り返してなんとかできたという感じ。
コーディングよりも、設定のほうが大変だったかな、、、
今回行ったのは、mp4ファイルからの文字起こし
Speech-to-Text APIでの mp4からの文字起こし
最初に、ソースコードの紹介から。
本当は、APIキーを取得しなければ動かないので、Google Cloudの設定から説明すべきな気がするけど、一旦後回しとします。
まず、MP4から音声データである、wavファイルを抜き出すよ
(FFmpegがインストールされている前提でコード書いています。Pythonのffmpegモジュールではない)
import subprocess

def extract_audio_from_mp4(mp4_file_path, wav_file_path):
    try:
        # subprocessを使用してffmpegコマンドを実行
        subprocess.run(
            ["ffmpeg", "-i", mp4_file_path, "-q:a", "0", "-map", "a", wav_file_path],
            check=True
        )
        print(f"Audio extracted and saved to {wav_file_path}")
    except subprocess.CalledProcessError as e:
        print(f"An error occurred: {e}")

# 使用例
extract_audio_from_mp4("test.mp4", "output_audio.wav")
次に、wavファイルを分割します。
Google Cloud Speech-to-Text APIは、音声ファイルに制限があります。
- モノラル(1チャンネル)のみ対応 ステレオなどはダメ
- PCのローカルに置いてあるものを使う場合 長さが1分以下、ファイルサイズが10MB以下
長くて大きいwavファイルは Google cloud strageにアップロードしなければならないようで、、、 Cloud strage使うのもお金がかかります。 データのサイズが小容量ですぐ消す場合は少額で済むようだけど、、、
というわけで今回はwavファイルをモノラルに変換したあと、分割して 最初のファイルだけテキストにしてみます。
import subprocess

def convert_to_mono(input_file, output_file):
    try:
        subprocess.run(
            [
                "ffmpeg", "-i", input_file, "-ac", "1", output_file
            ],
            check=True
        )
        print(f"Converted {input_file} to mono and saved as {output_file}")
    except subprocess.CalledProcessError as e:
        print(f"An error occurred: {e}")

# 使用例
convert_to_mono("output_audio.wav", "output_audio_mono.wav")
次に、wavを分割(下記の例では、4MBごとに分けてます)
import subprocess
import os

def get_duration(filename):
    """Get the duration of the audio file in seconds."""
    result = subprocess.run(
        ["ffmpeg", "-i", filename],
        stderr=subprocess.PIPE,
        stdout=subprocess.PIPE
    )
    result_str = result.stderr.decode('utf-8')
    duration_str = next(line for line in result_str.splitlines() if "Duration" in line)
    h, m, s = duration_str.split(",")[0].split()[1].split(":")
    return int(h) * 3600 + int(m) * 60 + float(s)

def split_audio_by_size(input_file, target_size_mb=10):
    # Estimate duration per target size
    duration = get_duration(input_file)
    file_size = os.path.getsize(input_file) / (1024 * 1024)  # Convert to MB
    duration_per_mb = duration / file_size

    # Calculate target duration for each segment
    target_duration = target_size_mb * duration_per_mb

    try:
        # Split the file using ffmpeg
        subprocess.run(
            [
                "ffmpeg", "-i", input_file, "-f", "segment",
                "-segment_time", str(target_duration), "-c", "copy",
                "output_audio_%03d.wav"
            ],
            check=True
        )
        print("Audio file split successfully.")
    except subprocess.CalledProcessError as e:
        print(f"An error occurred: {e}")

# 使用例
split_audio_by_size("output_audio_mono.wav", target_size_mb=4)
そして、いよいよSpeech-to-Text APIを用いて文字起こし
import os
os.environ["GOOGLE_APPLICATION_CREDENTIALS"] = r".\your-apikey-json-file.json"


from google.cloud import speech
import io

def transcribe_audio(audio_file_path, output_file_path):
    client = speech.SpeechClient()

    with io.open(audio_file_path, "rb") as audio_file:
        content = audio_file.read()

    audio = speech.RecognitionAudio(content=content)
    config = speech.RecognitionConfig(
        encoding=speech.RecognitionConfig.AudioEncoding.LINEAR16,
        sample_rate_hertz=44100,
        language_code="ja-JP",
    )

    response = client.recognize(config=config, audio=audio)

    with open(output_file_path, "w", encoding="utf-8") as output_file:
        for result in response.results:
            transcript = result.alternatives[0].transcript
            print(f"Transcript: {transcript}")
            output_file.write(transcript + "\n")

# 使用例
transcribe_audio("output_audio_000.wav", "output.txt")
これで、output.txtにできた
まだそれほどたくさん試したわけではないけれど、nottaよりいいかもしれない。 nottaも十分良いと思うけど。
Google Cloud speech-to-text APIを使うための下準備
順番は逆になったけど下準備に関して説明します。
参考にしたのはこのQiitaのサイト
Googleアカウントとは別に、Google Cloud アカウントが必要になるので、Google Cloud アカウントの作成から始めよう。
途中、クレジットカード情報の入力を求められる。
(クレジットカードがなくてもアカウントの作成はできるようだけど、私はやったことはない。)
そのあと、プロジェクトの作成、Speech-to-Text APIの有効化、APIキーの作成を行うと jsonファイルが出来るので、そのjsonファイルを環境変数で指定するか、pythonのコード上で
import os
os.environ["GOOGLE_APPLICATION_CREDENTIALS"] = r".\your-apikey-json-file.json"
のようにして、jsonファイルを読み込む。
実際にやってみると、参考にしたサイトと 今のGoogle Cloudのサイトの見た目も変わっている所がある。 けど、なんとかなるさ やってみろ という感じです。
親切丁寧な説明のブログ記事は、作るのが大変な割に そこまで見る必要ないかな? なんとかなるかな ほかにも情報あるし、 というわけで懇切丁寧に繕うみたいなモチベーションは湧かないのよね。。。
もし需要があれば コメントにでもかいてください。 というわけで 今回はここまで。 Google Cloud Strageを使った場合の話はまた次回の記事にでも書きたいと思います。
(次いつになるかわからんけど。)


コメント